3
Adding & Combining Actions
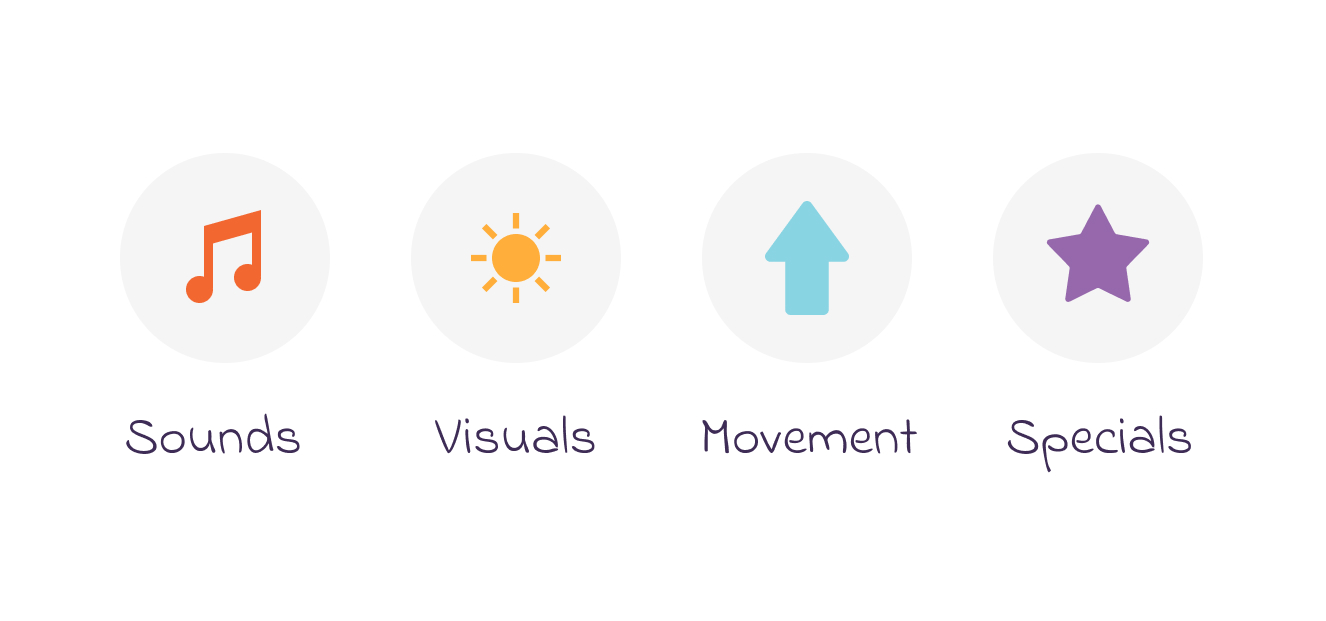
Actions - Coding icons which look like bubbles and perform an output task. There are 4 types of Actions in the Action Dock – Sounds, Visuals, Movement and Specials.
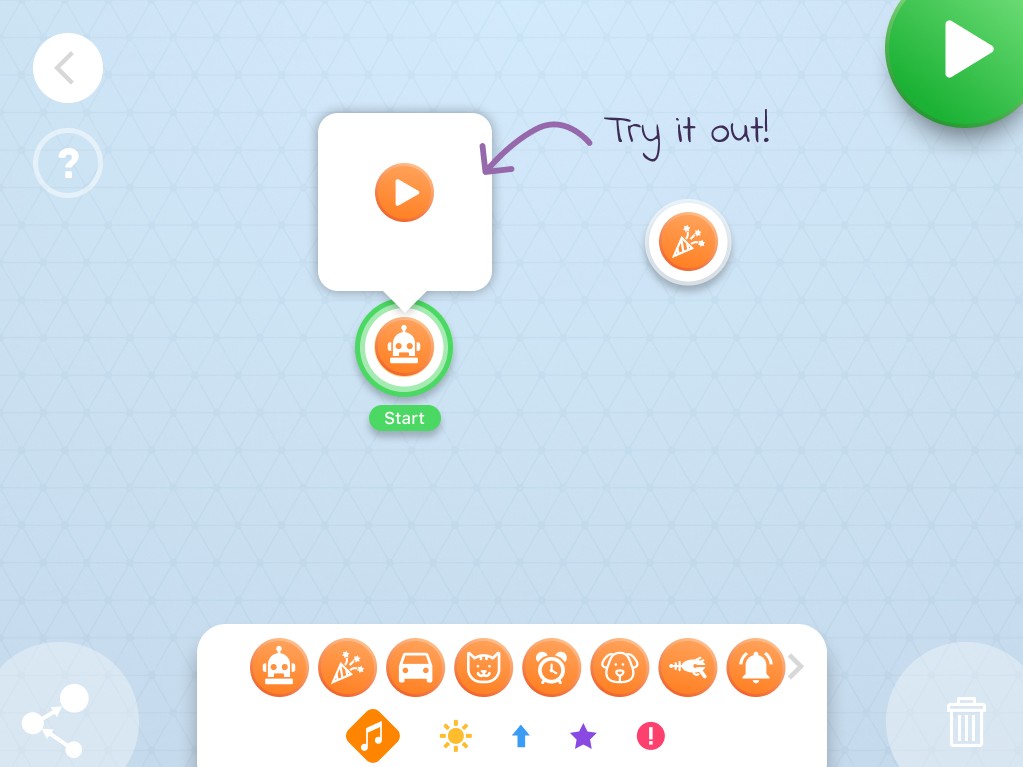
Adding Actions on the canvas
Drag & drop the first Action on the canvas. It appears with a Start Point on it. Drag more Actions on the canvas.

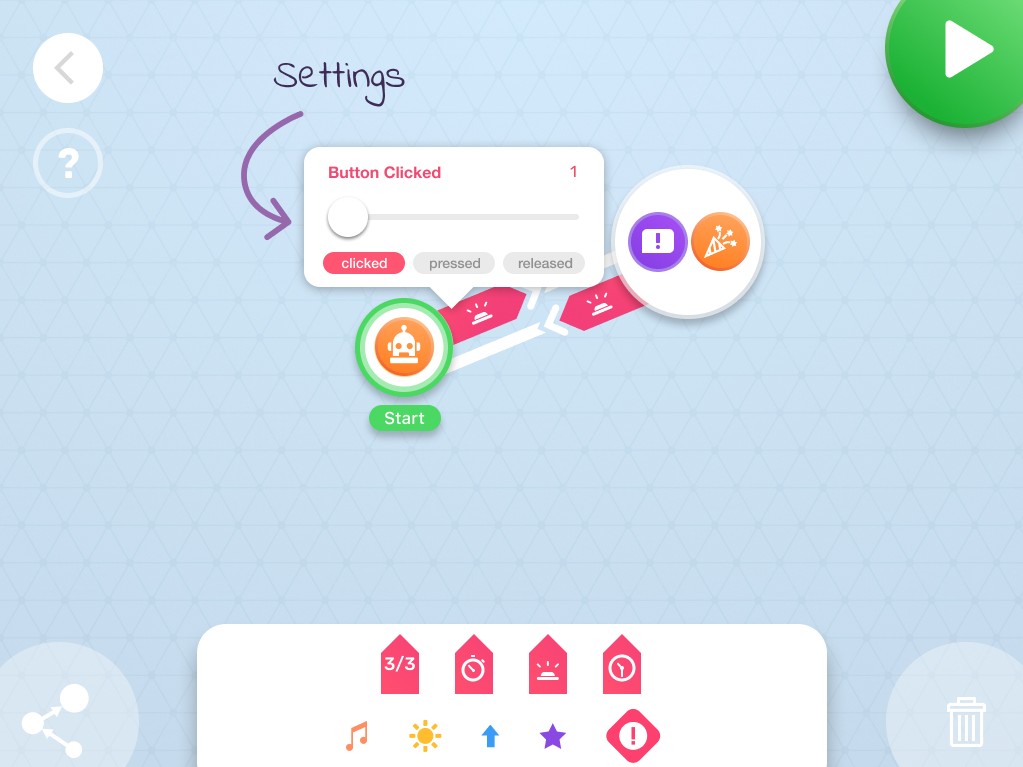
Action Settings
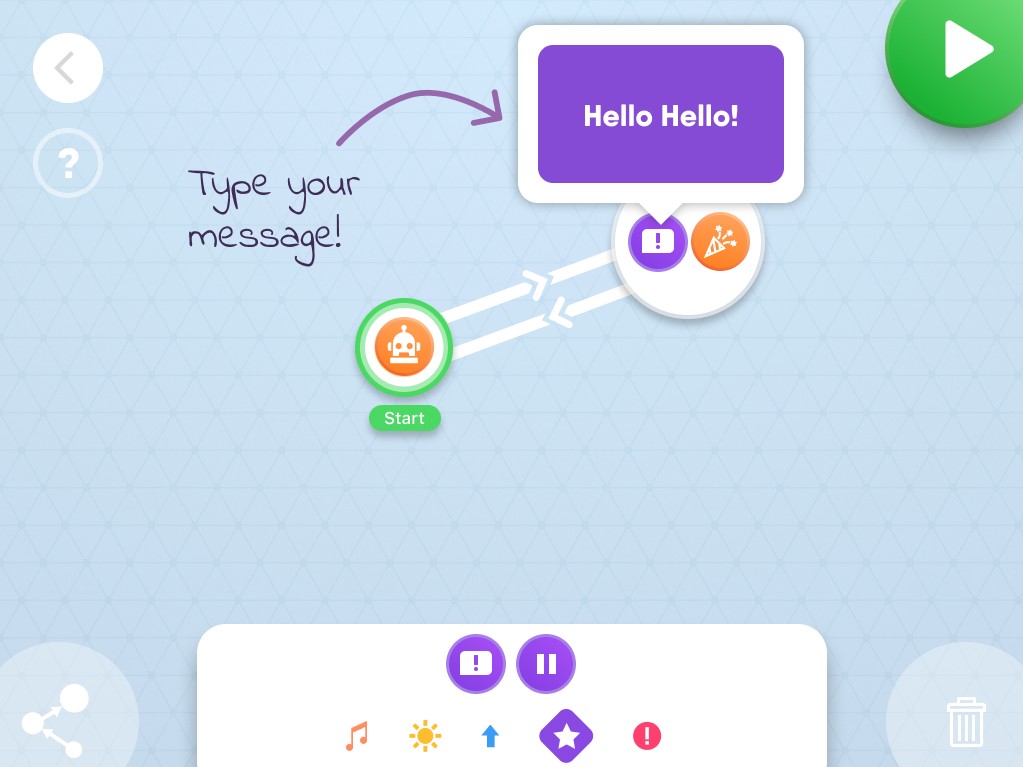
Tap on an Action to adjust it. Different Actions have different Settings. Sounds don’t have any settings.
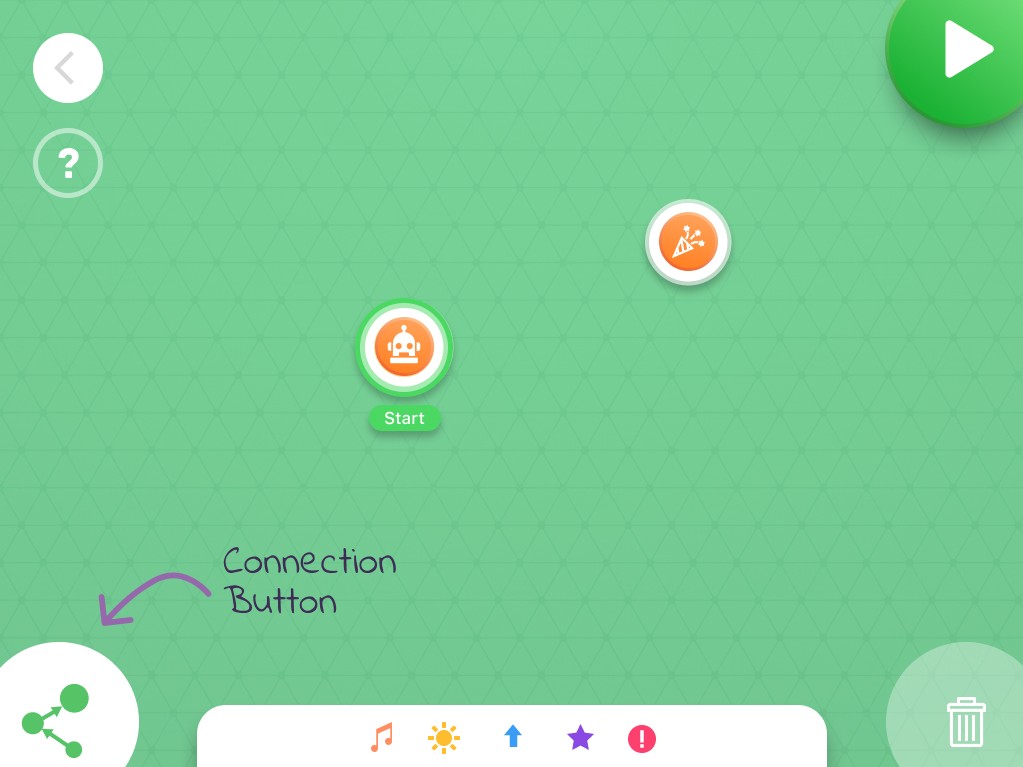
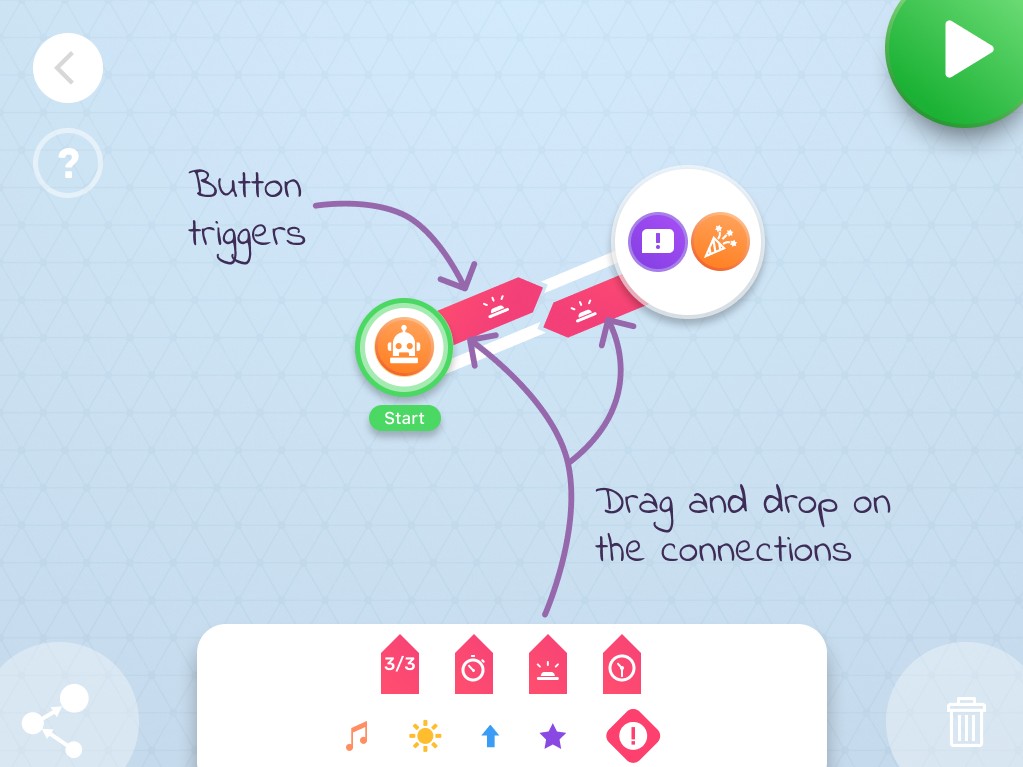
Connection: Combining the Actions into a Sequence
Press the Connection Button to activate the Connection Mode and draw an arrow from the first Action to the second and back. Tap anywhere on the canvas to deactivate the Connection Mode. You created two Connections.
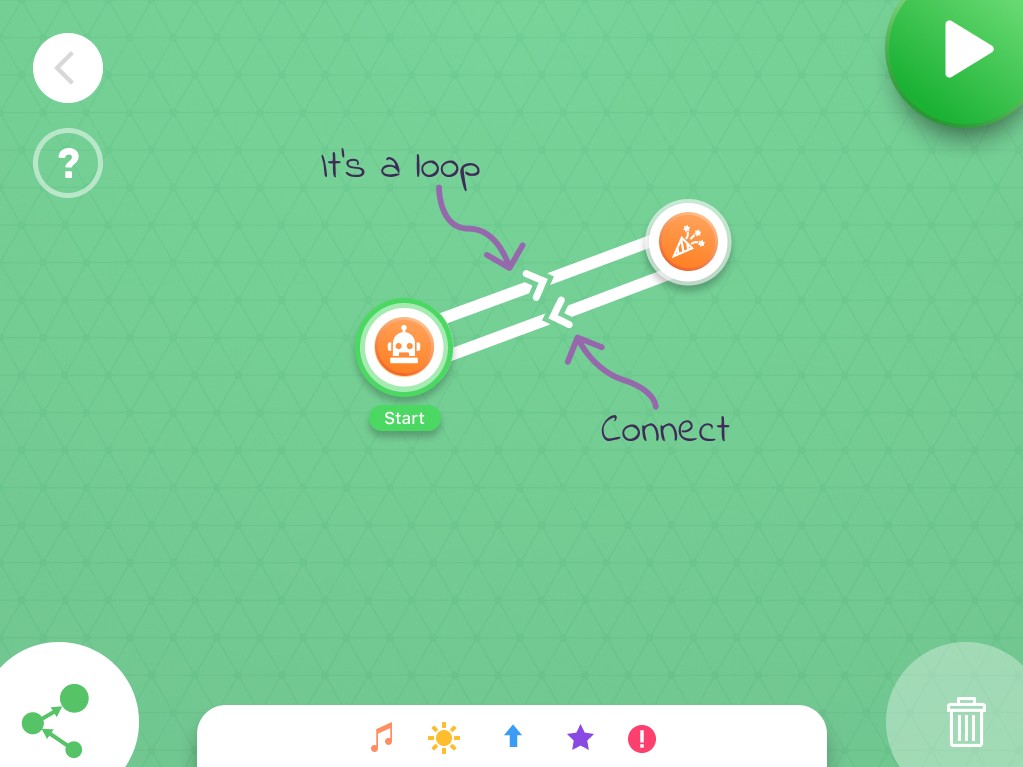
Loop
To make an infinite loop, connect the last state to the first so that it forms a continuous flow.
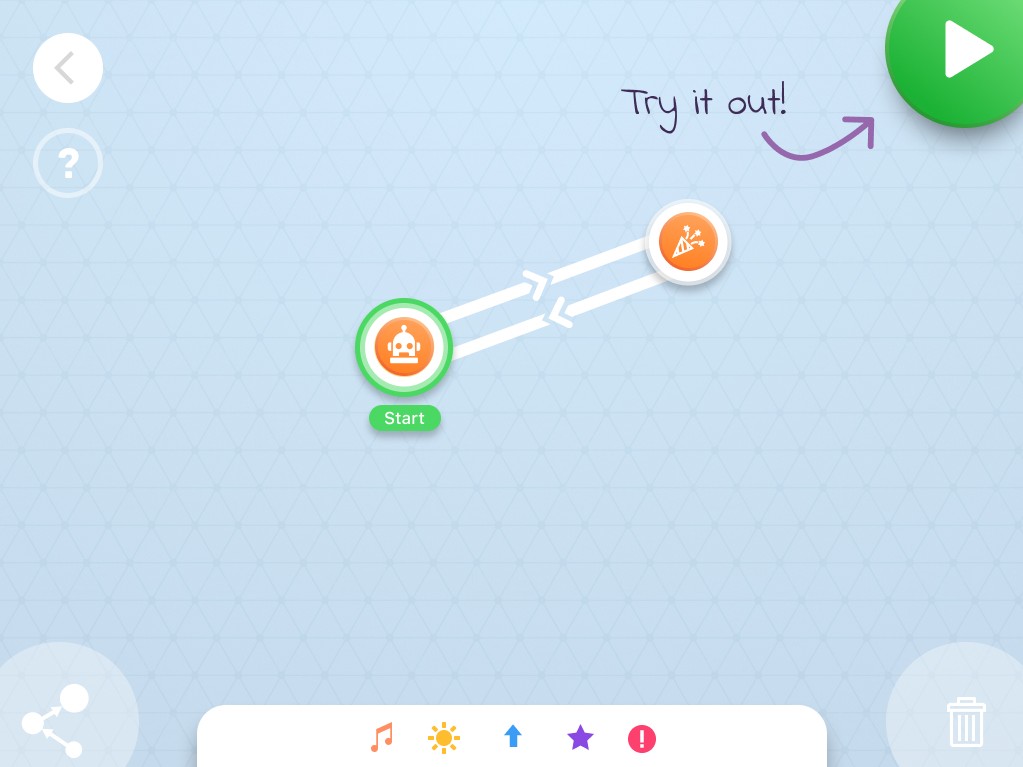
Play the code
Once your code is ready, press Play Button to start the program. The green circle will indicate what part of the code is executed now.
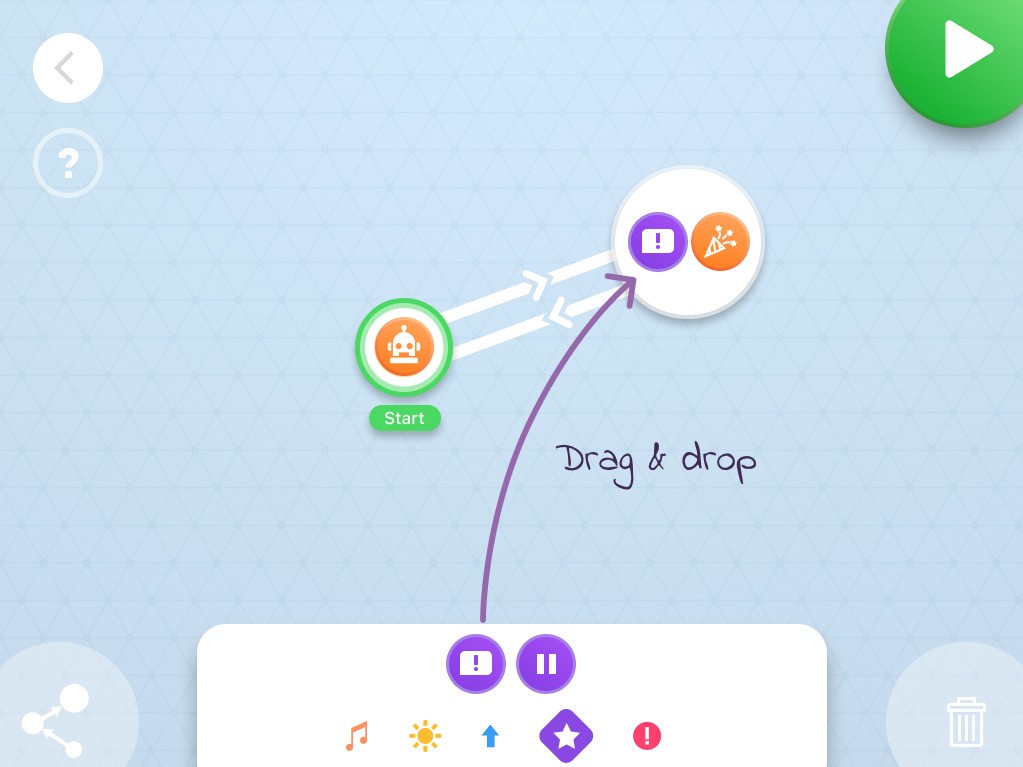
Create a State
To execute multiple Actions at the same time, drop one on top of another. This big bubble is called State. Test the program to see how it works. You can combine up to 5 Actions in one State.
Start Point
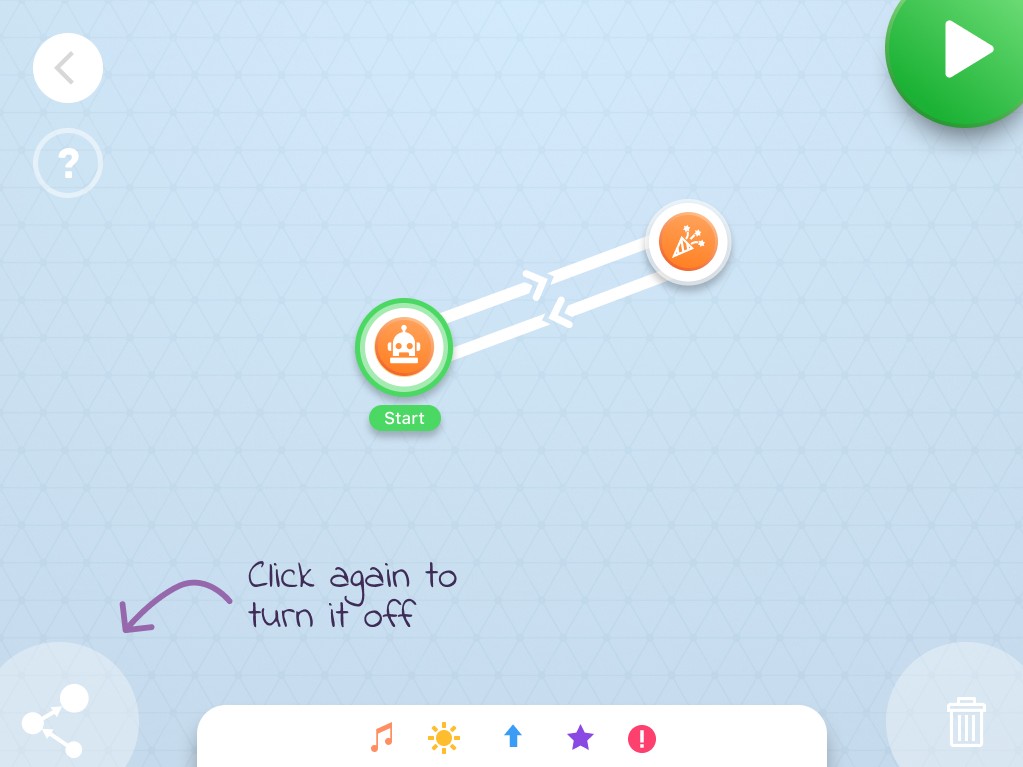
The first Action that you drop on the canvas has a Start Point. It means your code starts here. You can move the Start Point from one Action to another.
!
Please note: It’s not possible to combine actions that use the same block into one state.
4
Adding & Combining Conditions
Conditions are coding icons which look like red stickers and have to be placed on the Connection between 2 Actions. Conditions regulate if this Transitions between 2 Actions happens.

Adding a Condition
Drag & drop a Button Condition on one of the Connections.
Conditions Settings
Tap on a Conditions to adjust its settings. Different Conditions have different Settings.
Congratulations!
You just created your very first Code project!


